
Belt leather can deteriorate over time but it can be easy to replace to give the belt a new life and a new look.

The leather on this belt had become stiff and dry. I was concerned that it would flake and further deteriorate if I wore it. I decided to keep the gorgeous hardware but replace the leather.
Fortunately, the hardware was easy to remove with a slot-headed screwdriver.
I made sure to keep the screws in a ramekin so I didn’t lose them. Despite having a screw-gauge, it’s time-consuming to come up with the just right replacement.

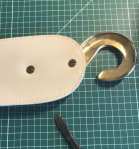
I gave the hardware buckle a light cleaning. Its graceful lines really shone.
I had already purchased a hide from Tandy for another project. Ideally, I would have cut the replacement leather from the spine of the hide where the leather is the strongest. However, I needed to economize and hoped that leather is pretty strong anyway for a decorative belt.
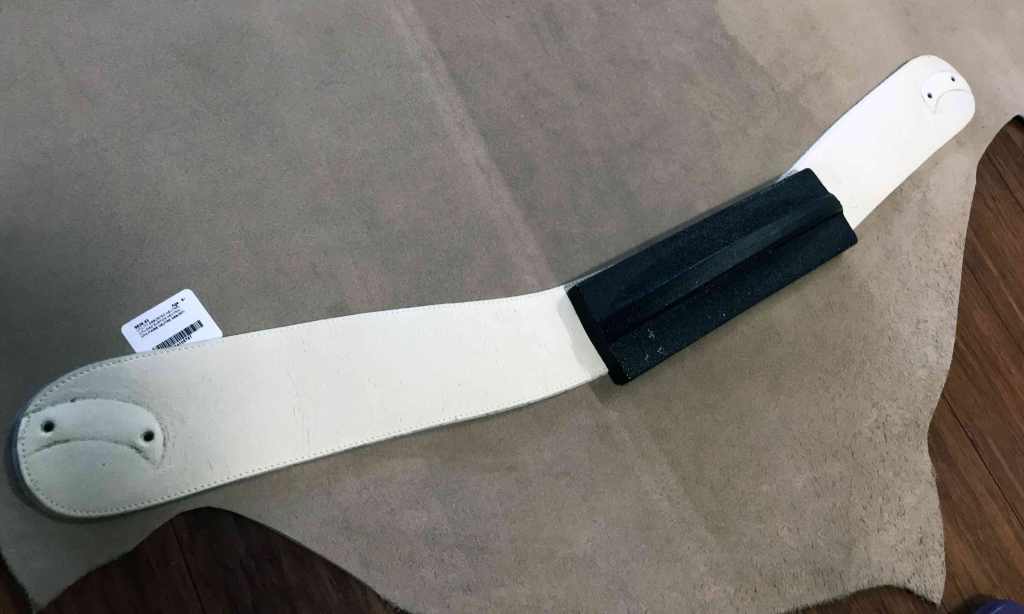
I used a commercial pattern weight to hold the old belt in place on the hide. Using a rotary cutter, I cut out one piece, then flipped the belt direction and cut out the second piece. I marked the screw holes on each end.
I placed the new pieces of leather wrong sides together and sewed along the edges. I did this on my home Singer Industrial Sewing Machine because at the time I did not have access to a commercial industrial sewing machine. I do have access now and may cut the leather out in another color and sew it with that machine for more beautiful stitching. For now, here’s to slow fashion and make and mend! Old hardware with new leather can look quite good!


